Getting Started with Docker
This section will guide you through the basics of Docker, covering:
-
Installing Docker Desktop: We'll cover how to set up Docker on your Linux, macOS, or Windows machine.
-
Launching your First Container: You'll learn to run a simple container, taking your first steps in the exciting world of Docker.
-
Understanding Docker Images: We'll delve into what Docker images are and explore where to find pre-built images, both publicly and privately.
-
Using Docker Hub: Docker Hub is a popular online repository for sharing and discovering Docker images. We'll show you how to use it to find and run images for your projects.
Let's get started!
Installing Docker Desktop
Linux
For Linux Users, installing Docker is very easy and straightforward. You just have to use this official docker install script. Just copy paste this into your terminal and you should be good to go !
curl -fsSL https://get.docker.com -o get-docker.sh
sh get-docker.sh
macOS
- Download Docker Desktop from the official website
- Double-click the downloaded
.dmgfile - Drag Docker to your Applications folder
For detailed instructions, refer this official installation guide.
Windows
- Download Docker Desktop for Windows
- Run the installer
- Follow the installation wizard
Installation for Windows is not as straightforward as it is for Mac or Linux, so if you get stuck or have any queries, please refer this official installation guide for windows.
Launching your first Docker container
- Open a terminal or command prompt
- Run:
docker run hello-world
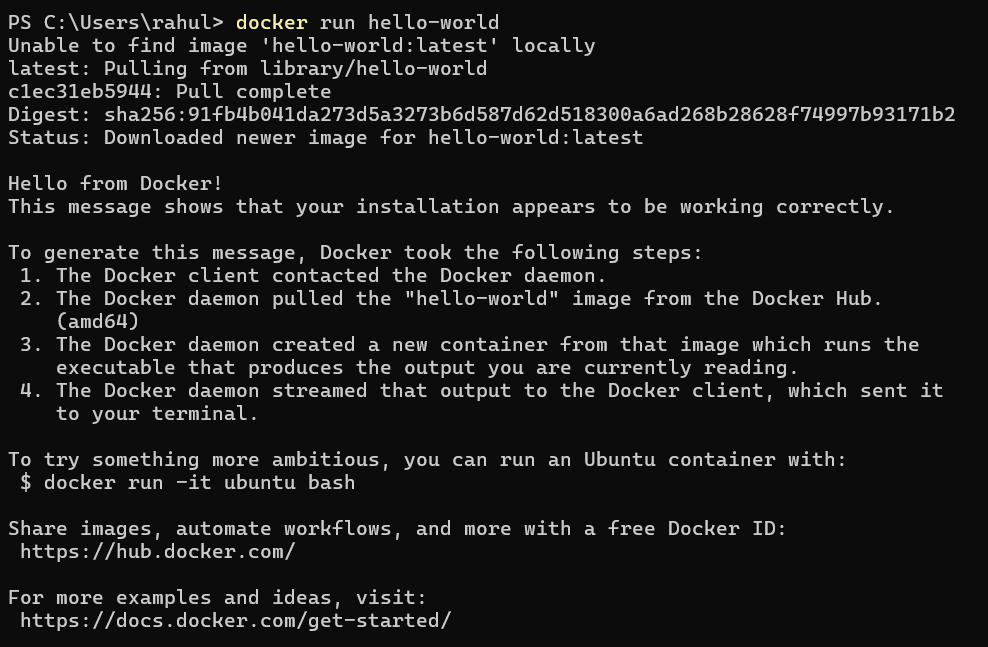
If your docker installation is successful, you should see something like this.
Note: For this example, we pulled the "hello-world" image from Docker Hub and ran it. You can learn more about Docker Hub and exploring images in the next sections.
Exploring Docker Images
Docker images are like blueprints for your containers. They contain everything your application needs to run, including code, runtime, libraries, and dependencies. There are two types of repositories where Docker images can be stored:
- Public repositories: Available to everyone, these images are hosted on Docker Hub, where anyone can download and use them.
- Private repositories: These are secure and only accessible to specific users or teams. If you're working on sensitive or proprietary software, you might want to use private repositories to control access.
Public Repositories on Docker Hub
Docker Hub is the most popular place to find pre-built images. It’s like an app store but for Docker images! You can search for images of popular software like web servers, databases, and development tools.
Using Docker Hub
Follow these steps to get started with Docker Hub:
-
Create a Docker Hub account: Go to Docker Hub and sign up for free.
-
Search for images: You can search for pre-built images of applications. For example, if you want an image for Nginx (a popular web server), just type "nginx" in the search bar.
Example:
- Open Docker Hub in your browser
- In the search bar, type “nginx” or any other software you’re interested in.
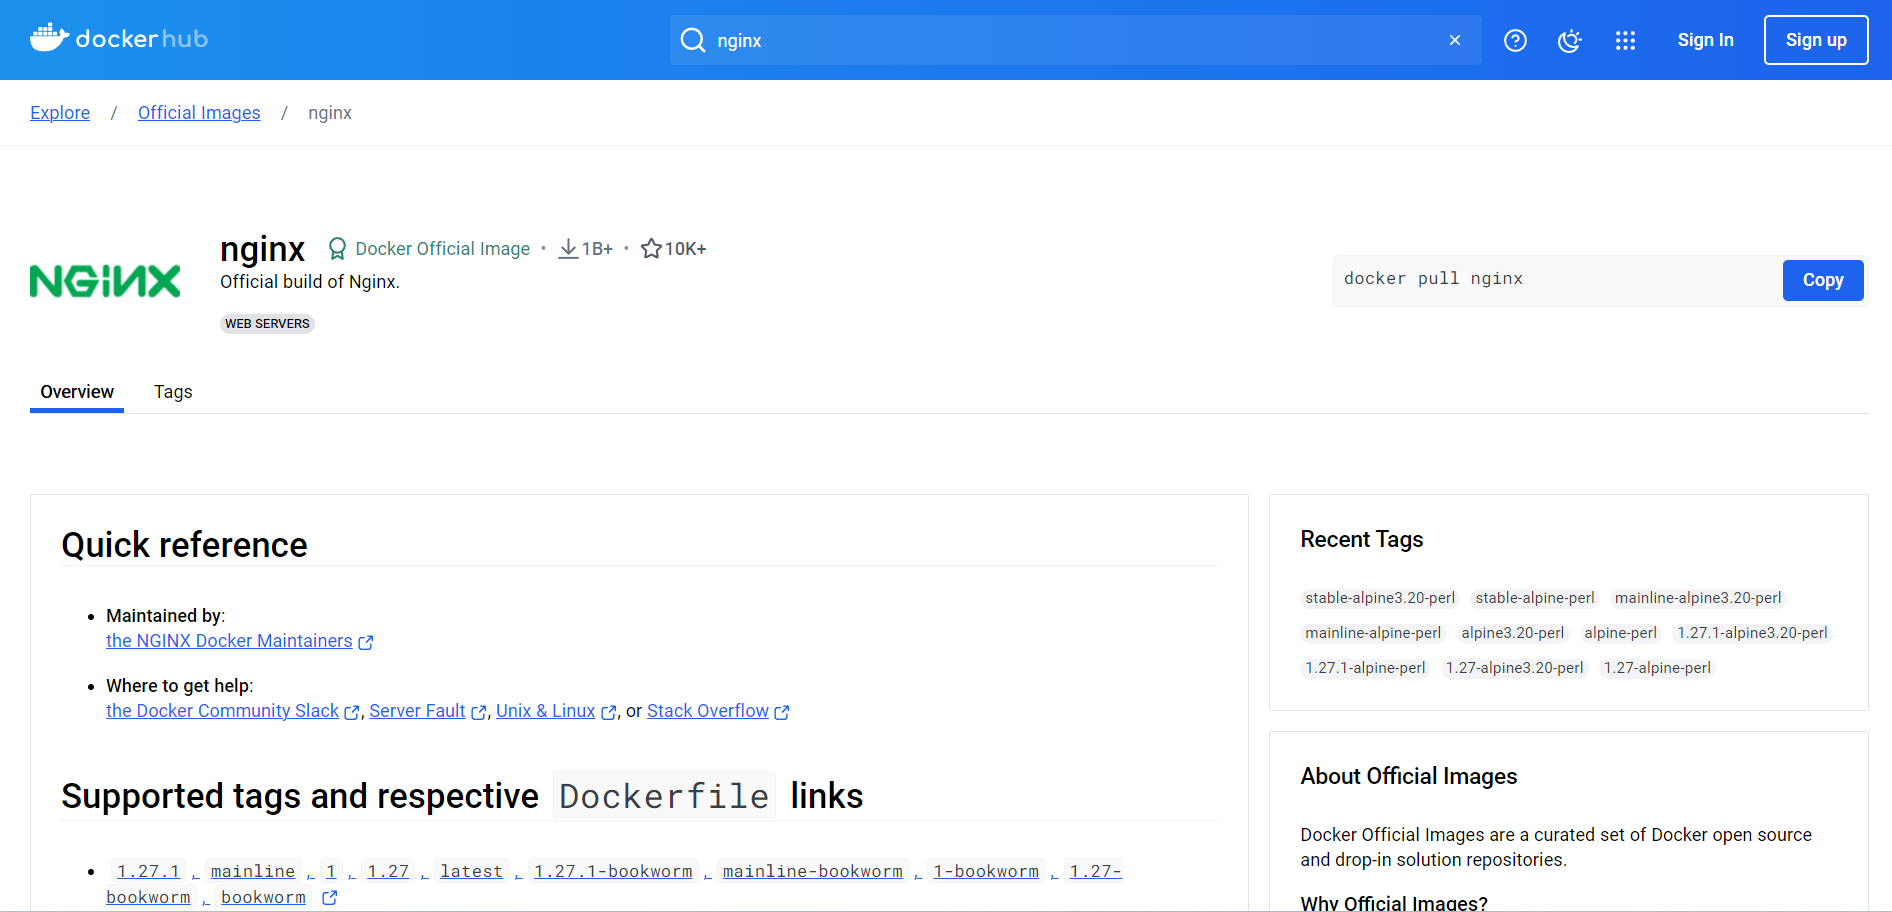
- Pull an image: Once you find an image you want to use, you can "pull" it (download it) to your local machine. For example, to pull the official Nginx image, use the command:
docker pull nginx
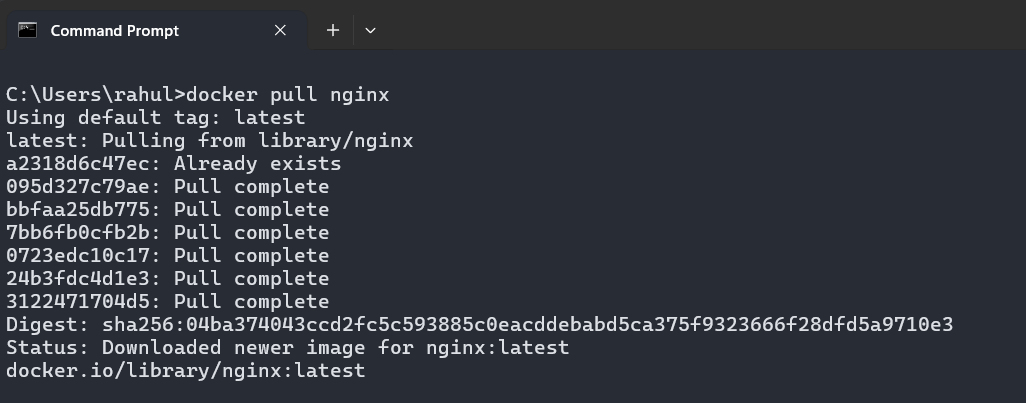
This command fetches the Nginx image from Docker Hub to your computer.
-
Push your own image: If you create your own image, you can push it to Docker Hub so others can use it, or just to back it up for your own use. First, log in using the command:
docker loginThen, push your image with:
docker push username/image-nameReplace
usernamewith your Docker Hub username andimage-namewith the name of your image.Example:
- Let's say you created a custom version of a web server. You’d name it like
yourusername/custom-webserver, then push it to Docker Hub:docker push yourusername/custom-webserver
- Let's say you created a custom version of a web server. You’d name it like
If you don't understand everything in this section, that's completely fine ! We will be delving into all of this in detail in the upcoming sections.
Launching Your First Ubuntu Container
Let’s start a container using the official Ubuntu image. This will let you interact with a lightweight, fully functioning Ubuntu operating system in a container.
-
Open your terminal or command prompt.
-
Pull the Ubuntu image (if you haven't already):
docker pull ubuntuThis command downloads the official Ubuntu image from Docker Hub.
-
Run the Ubuntu container:
docker run -it ubuntuHere’s what this command does:
-itallows you to interact with the container in real time (interactive mode).ubuntuis the name of the image you’re using.
-
Press Enter.
Now you’re inside an Ubuntu container! You’ll see a command prompt that looks something like this:
root@<container-id>:/#
You’re now running Ubuntu in a Docker container, and you can start using Linux commands just as if you were working on a regular Ubuntu system. Try some basic commands like:
ls     # Lists files and directories
pwd    # Prints the current directory
apt update  # Updates the package list (just like on a normal Ubuntu machine)
When you're done exploring, you can exit the container by typing:
exit
This will stop the Ubuntu container and bring you back to your regular terminal.
Running the Nginx Web Server
Now let’s run a real application using Docker, like the Nginx web server.
-
Pull the Nginx image (if you haven't already):
docker pull nginx -
Run the Nginx container:
docker run -d -p 8080:80 nginx-druns the container in the background (detached mode).-p 8080:80maps port 8080 on your machine to port 80 in the container (where Nginx serves web content).
-
Open your web browser and go to
http://localhost:8080. You should see the Nginx welcome page!
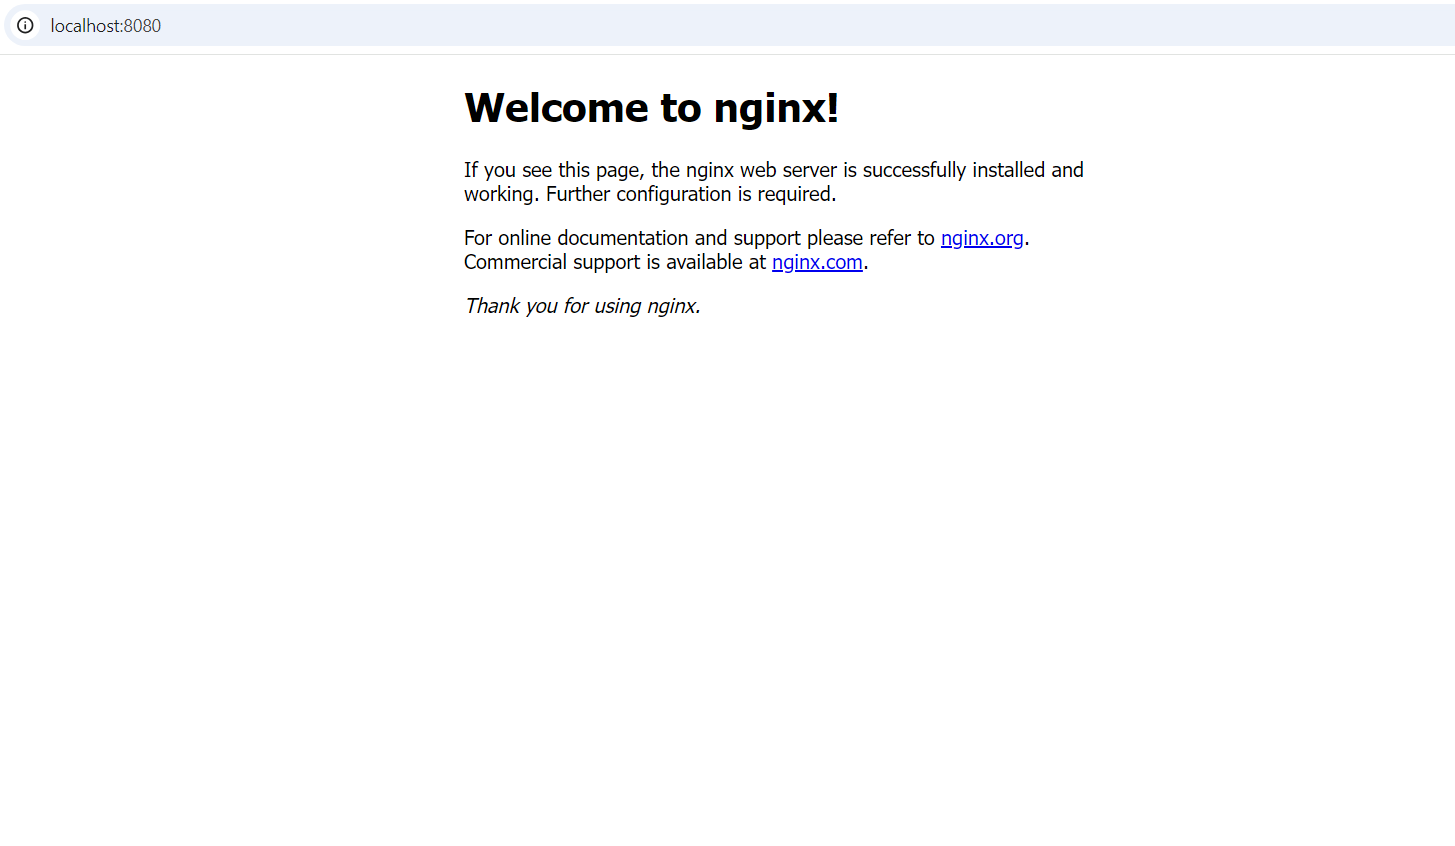
Congratulations! You’ve now successfully:
- Launched an Ubuntu container and explored the operating system.
- Run an Nginx container to serve a web page from Docker.
This section will be expanded further in subsequent sections to explore more complex Docker concepts.